

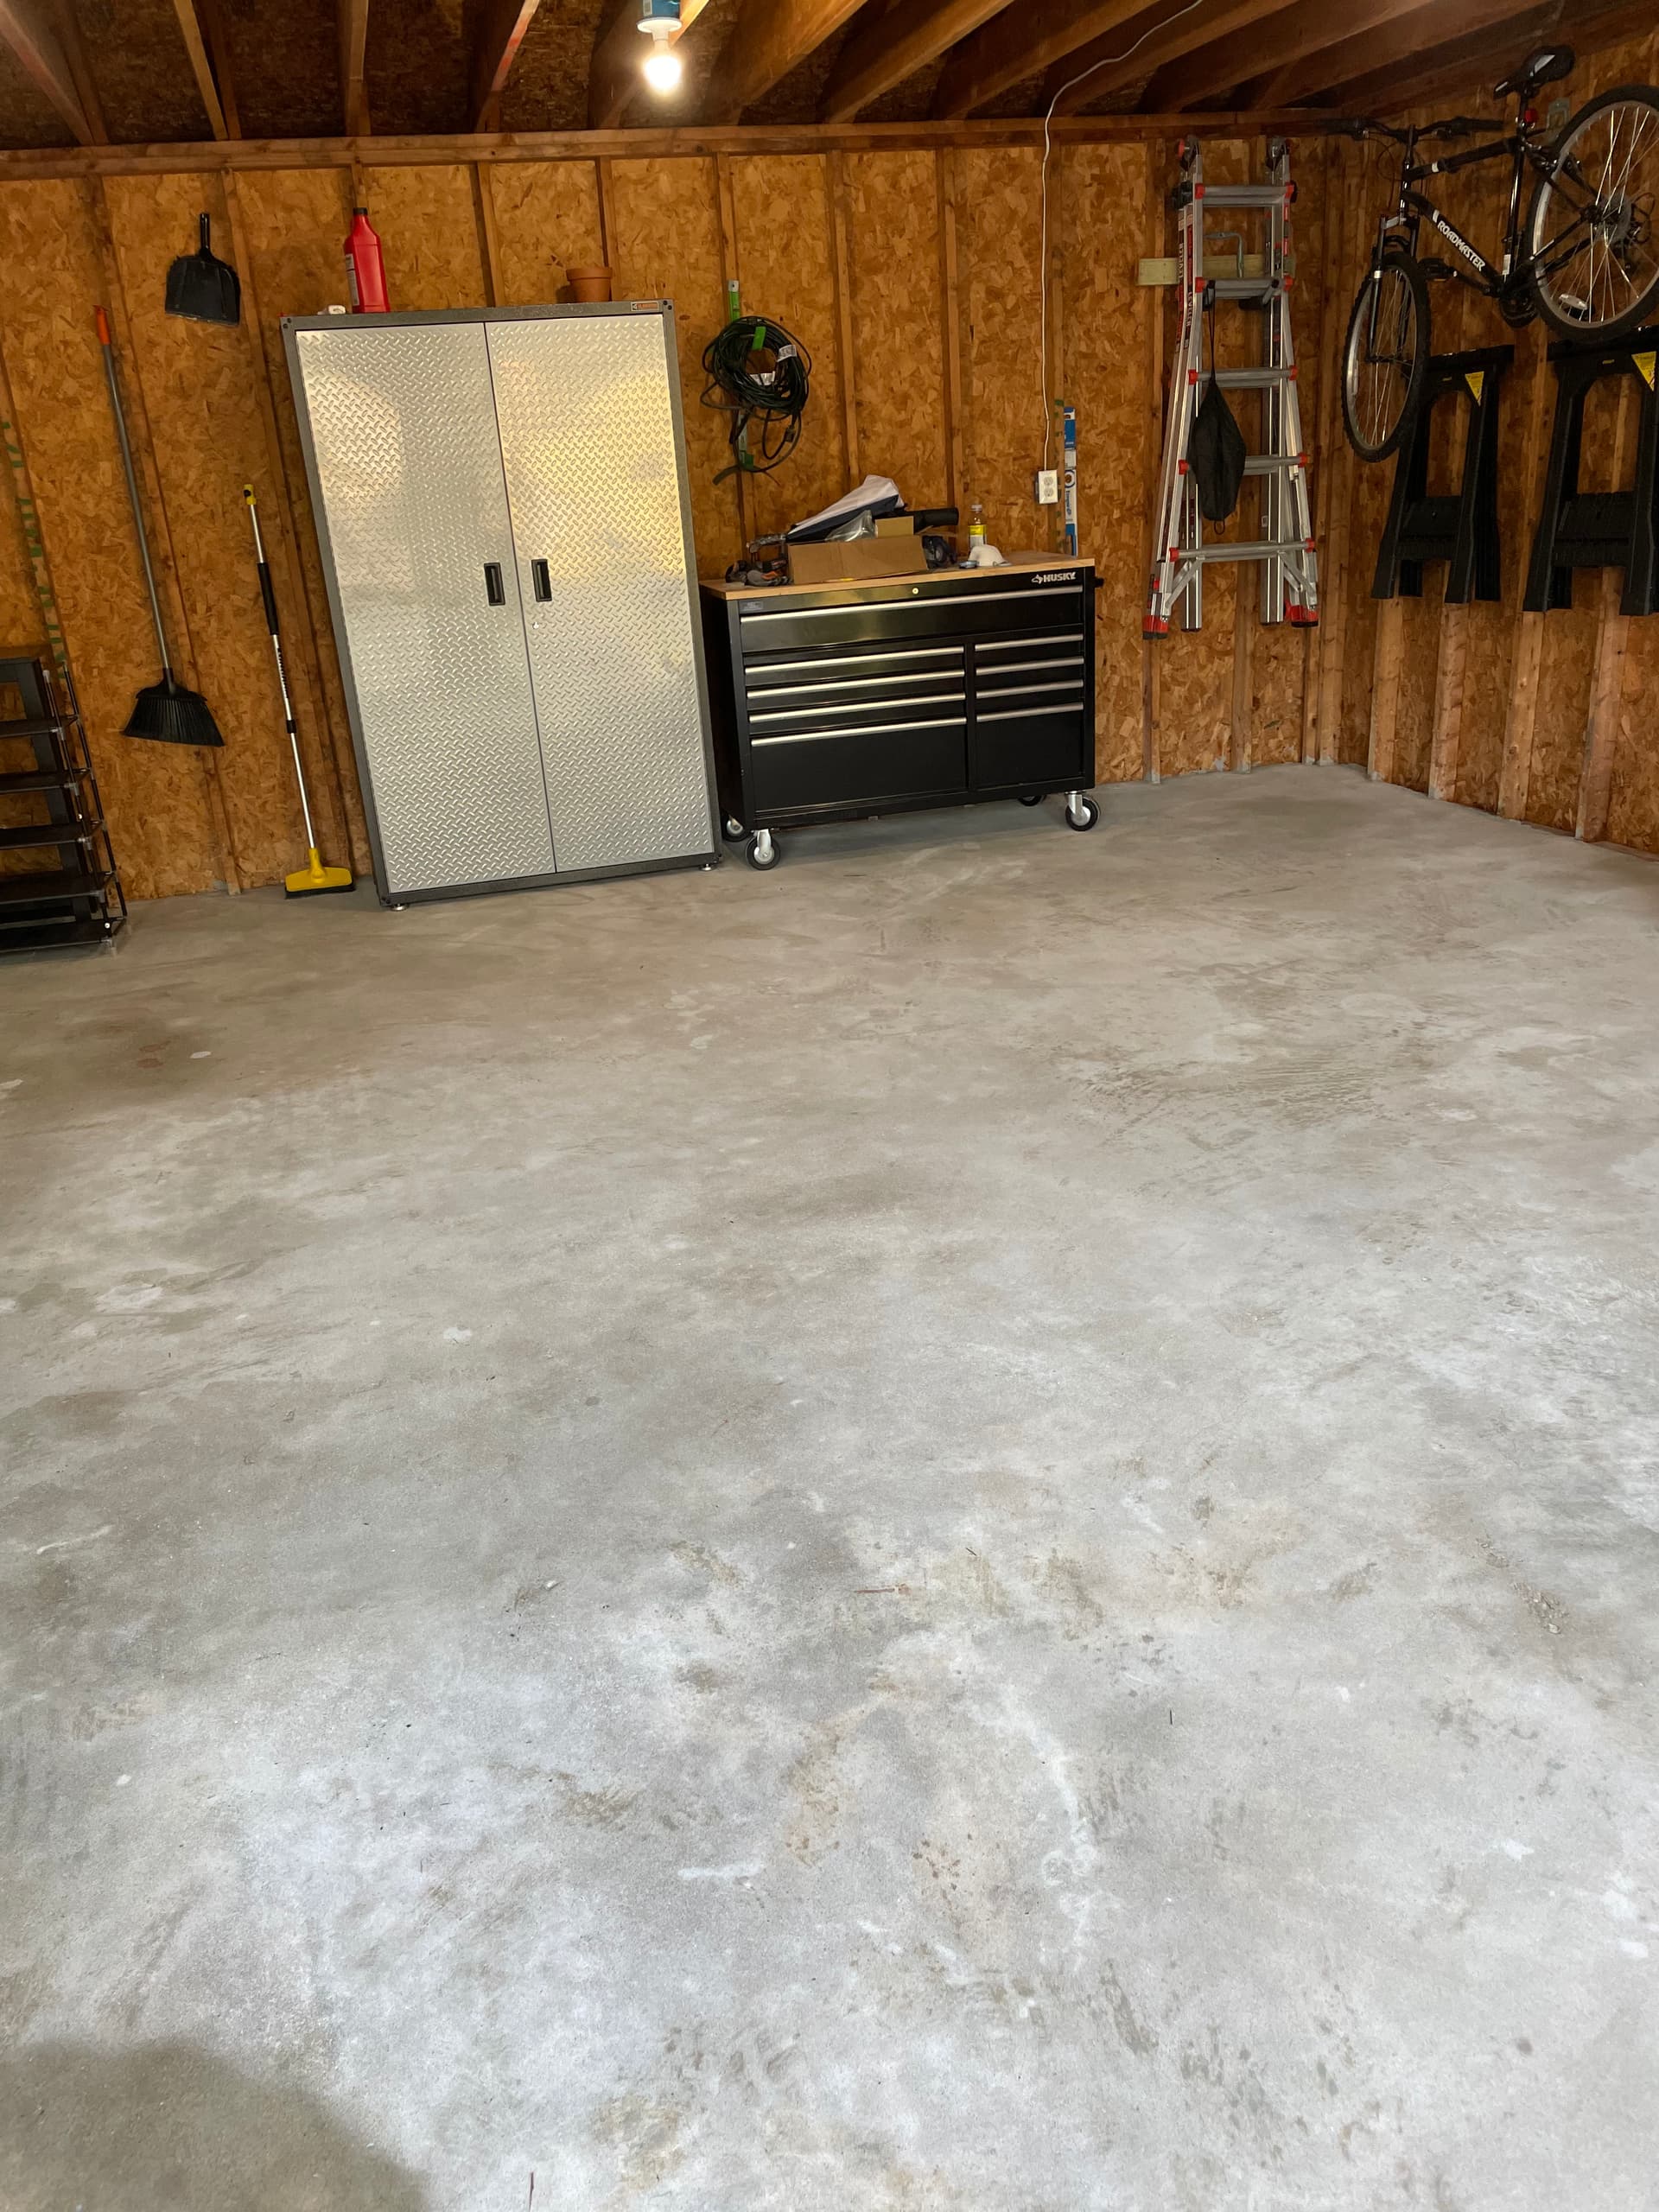
As the OP, my floor is fairly level with some minor cracks here and there. I plan on filling those with proper filler and grinding them smooth.
1 Like
Mind telling me what brand you used? Pros and cons?
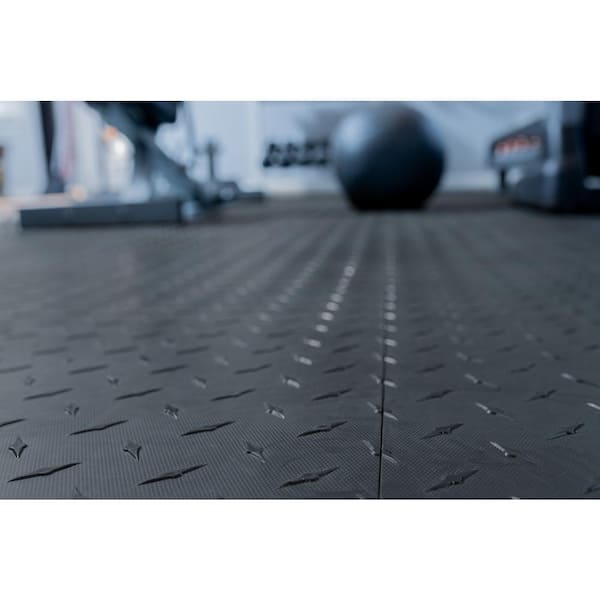
The tiles interlock closely so the seams between tiles are very tiny. I don’t see any need to clean the seams in particular. Here is a close-up look from Home Depot website.
Prep is THE key for doing epoxy. That is, if you want the epoxy to perform it’s best. I washed my floor 3 or 4 times, swept, vacuumed, etc. You have to use an acid etch for most concrete as it typically has a sealer on it. The existing sealant will prevent proper adhesion of the epoxy and you could end up with a mess of a floor. Yes, filling and grinding/sanding smooth is the way to go. Whatever cracks aren’t filled 100% are generally masked with the epoxy, depending on the color you go with.
2 Likes
Ive read countless tutorials and watched plenty of YouTube videos and taking notes along the way. I’m skipping the acid altogether and renting a concrete floor grinder which is used by professional installers.
Also, adding primer and upgraded top coat.
1 Like
I don’t recall the brand, but it is some professional/commercial series. I would reccomend going with a two-part, solvent based system as well. Many of the retail (off-the-shelf) products aren’t solvent based and aren’t as durable IMO. You CAN find the good stuff at traditional stores, but just be sure to read what you’re buying.
Pros - relatively cheap IMO for the improvement it has made. The floor is a bit easier to clean and looks much better than before. It is also nice that water/liquid doesn’t permeate the surface. I also did all of the labor myself, so that saves a chunk of change.
Cons - Prep process is long. You have to have your garage vacant for several weeks, minimum. I think it took me around a week to do the actual floor… then I didn’t drive on it for like two weeks. I haven’t had the floor long enough to recognize any real cons. I would say I need a couple years of use first.
Thank you.
10000% staying away from water based kits. I linked to the product I will likely use in the 1st post. Agree with labor, I’ll be saving more than half of what a pro charges.
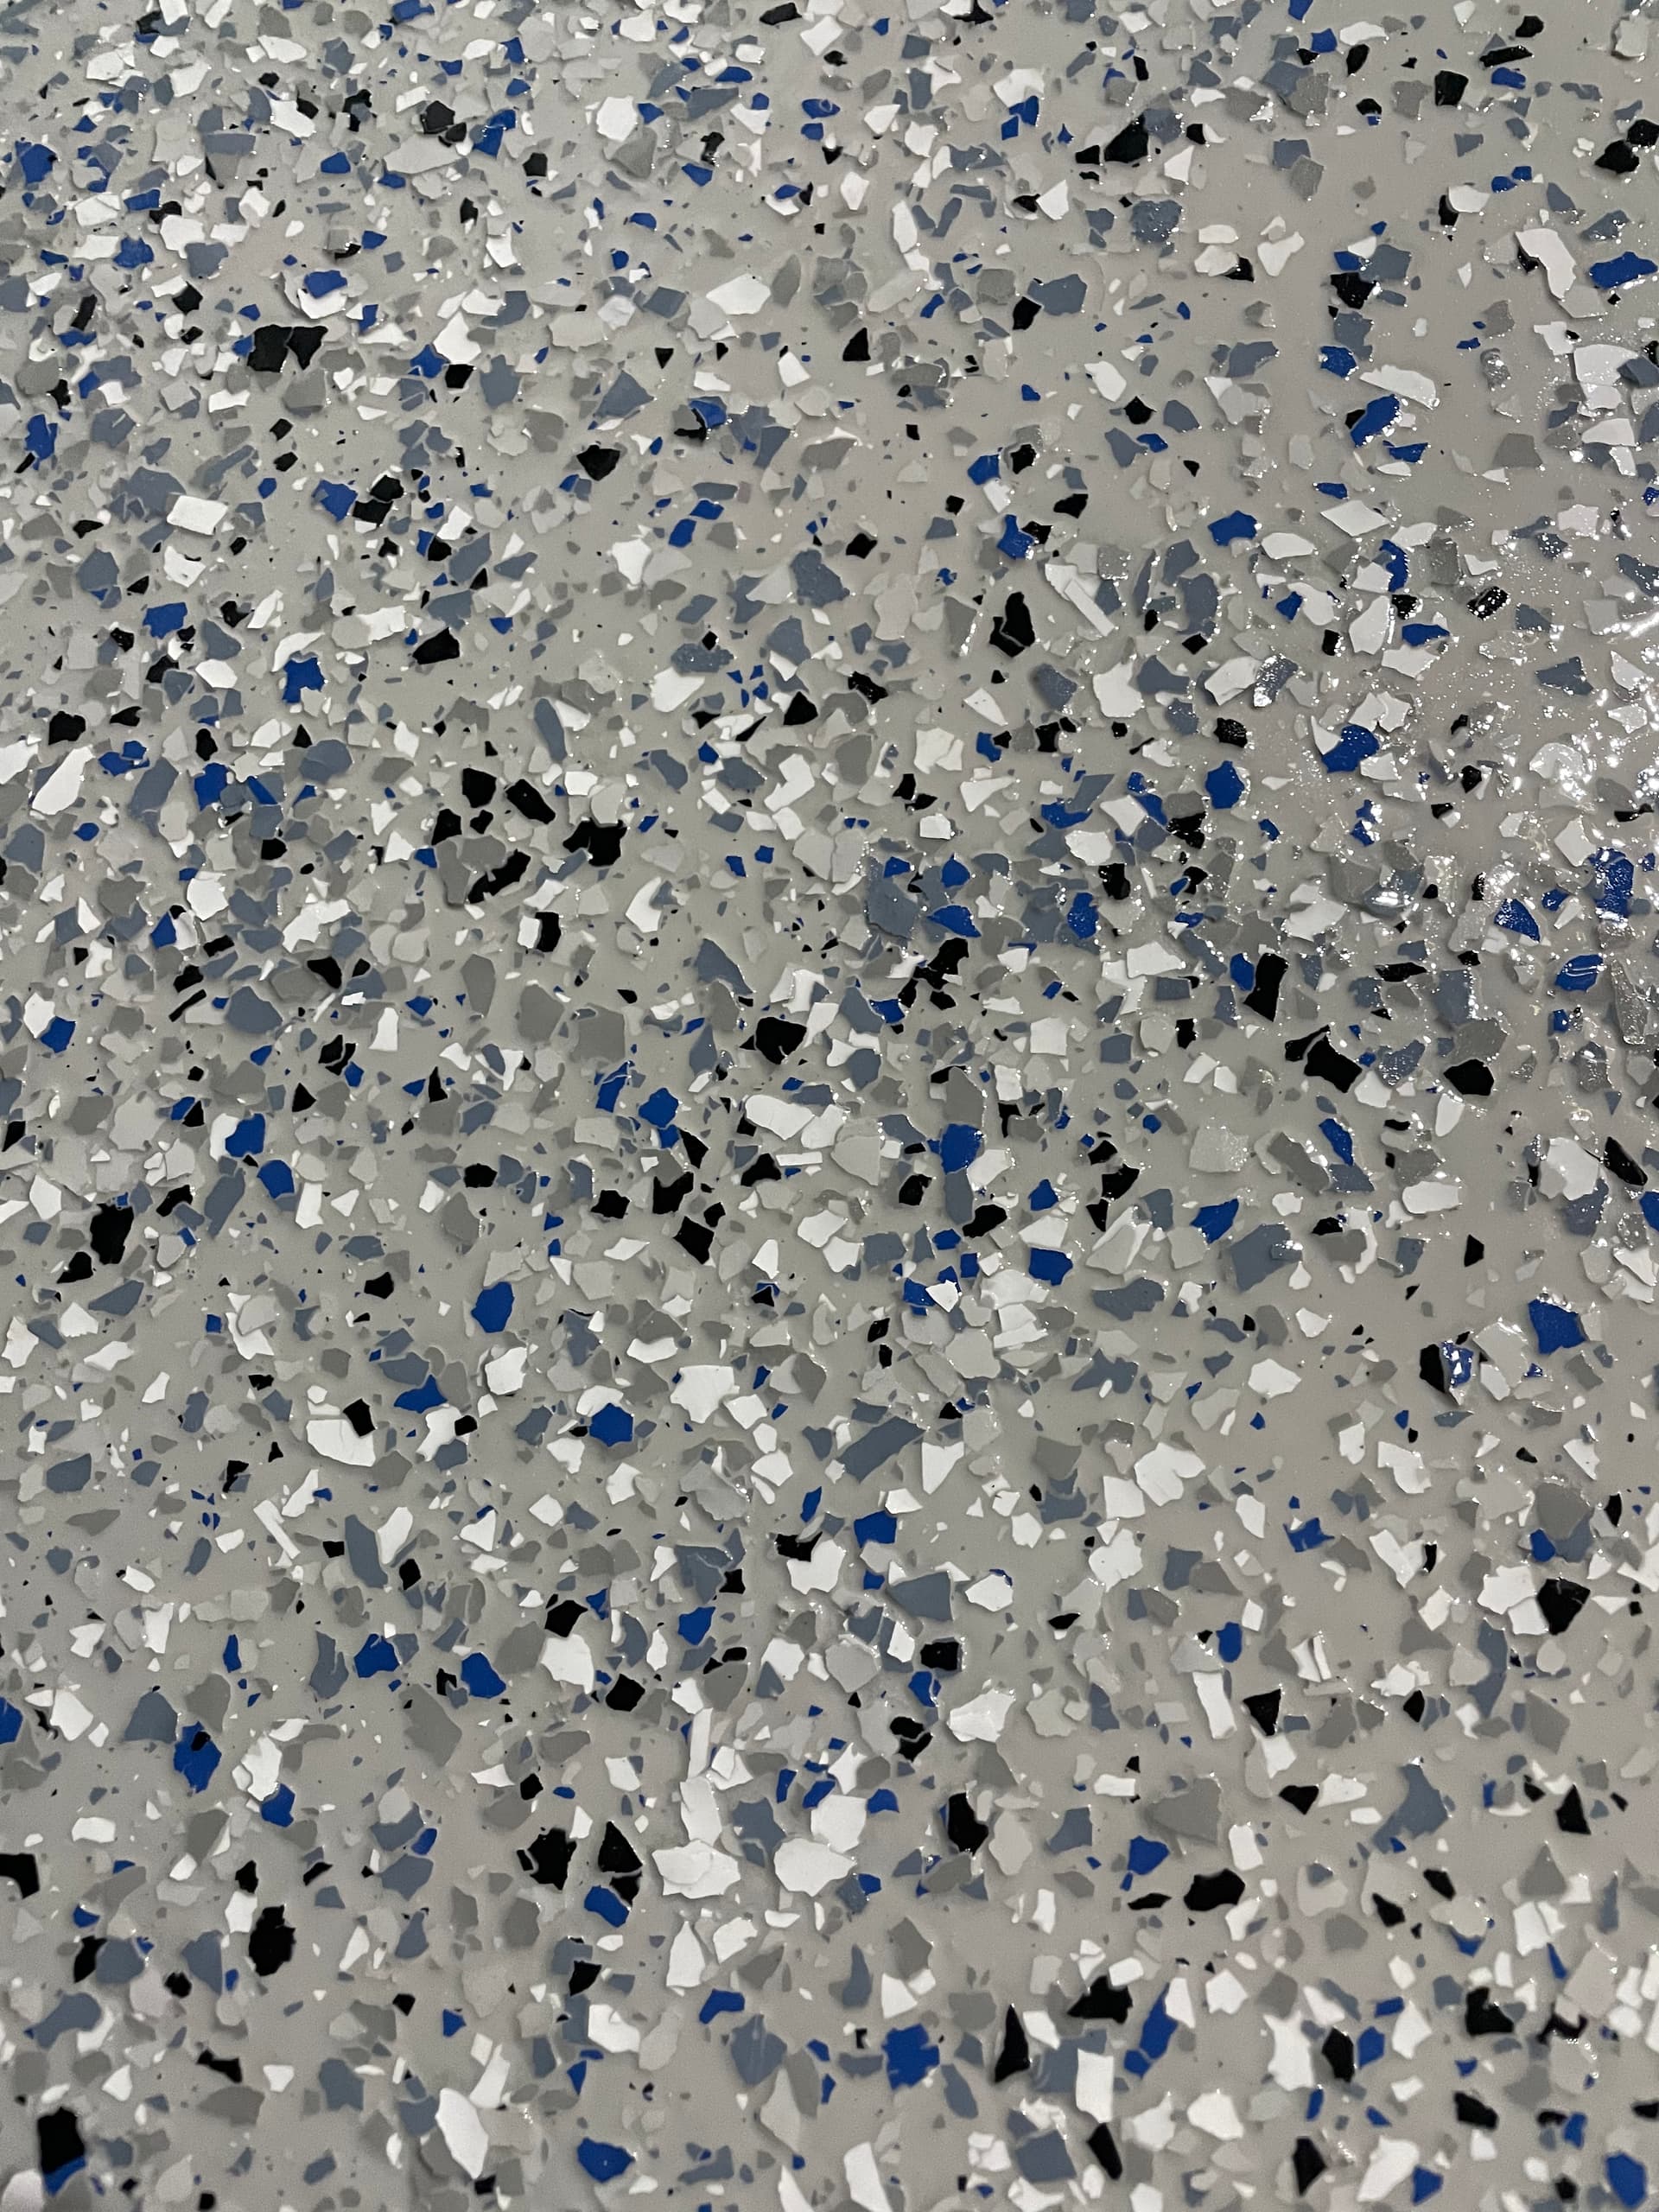
Yeah, it really isn’t all that difficult to do. If you’re doing colors chips, be sure to work in sections and throw the chips like you don’t care lol. Toss them into the air, not to the floor. I did a lighter grey with blue/black/white chips. I had really wanted to do a molten copper look (no color chips) but I knew the wife would hate it, so I did us both a favor. 
1 Like
In my last garage - I started with a 1 part epoxy which peeled up in a month, then I had the perforated floor tiles and hated them. I had to pull them up once a year to clean under them which was a mess. Plus they are a floating system and once my RWD Z4 pulled a few up reversing out at a normal speed. Disaster
In my new garage I did glue down VCT tiles. 2 car garage was about $700 in materials.
Pros - Glue holds them in place, easy to cut, smooth surface, very durable, large variety of colors (I did a checkerboard pattern), easy to clean (I may or may not have mopped my garage floor before!!). 7 yrs old so far and still like them. Went down in about 6-8 hrs total. Wasn’t too bad
Cons - have some small gaps in between tiles. First time doing this so I’m sure someone with experience would get them tighter. Few have come up but I just reglue them down. In colder winter months a few have chipped, maybe 10 in 7 years (but I have about 30 extra that I use to replace).
3 Likes
hows the traction on those tiles when wet?
Did you do any surface prep before gluing?
Typically you don’t want to glue those tiles to the floor as they are expected to expand/shrink due to temperature. I guess it depends on the type of tile you use. Most tiles are built to stay in place once installed.
Traction is pretty good. I will say when very wet in flip flops it can be slippery. But even wet in sneakers or dress shoes no problems.
I cleaned it but did not etch the concrete. Maybe would avoid those 1-2 loose tiles a year if I did but choose not to.
Depending on the concrete, not etching could make a BIG difference. On top of that, it was a one part epoxy, as you say. Think of putting latex paint on glass, and you’ll get about the same result as putting epoxy on an already sealed surface; the adhesion just isn’t there.
I ordered the armorclad 600sq ft kit today and 5 lb of extra flakes. I will let everyone know how it’s goes, wish me luck.
1 Like
How exciting! Let the games begin lol
1 Like
Update: I decided to knock out all the prep work this weekend as i knew it was going to be time consuming and it’s the most important step.
My slab is about 30 years old and had a previous paint type coating, so I skipped the acid etching and went straight for the grinder. I rented an edco single disc grinder, a small angle grinder with wheel for concrete, and a specialty shop vac for the dust.
It was a slow tedious process and it produced ALOT of dust. I had the vac hooked up to the grinder which eliminated the airborne dust but still left plenty on the floor. I then vacuumed and swept the remaining dust and also used my pressure washer to flush out the garage. Once rinsed, I could see paint spots I missed and went back in to grind again.
When done, I used a concrete degreaser to get rid of any grease or oil left behind. Once the floor dried, I filled any cracks with a 2 part epoxy and grinded them the next day.
Note on rentals: I rented the grinders from a local tool rental place since they were closed on Sunday and let me pick them up Friday afternoon, return Monday, and only pay for 1 day rental. This let me do some extra touch up work Sunday without rushing. If you rent from home depot the clock starts once you pick up the tools since they are open 7 days a week, obviously.


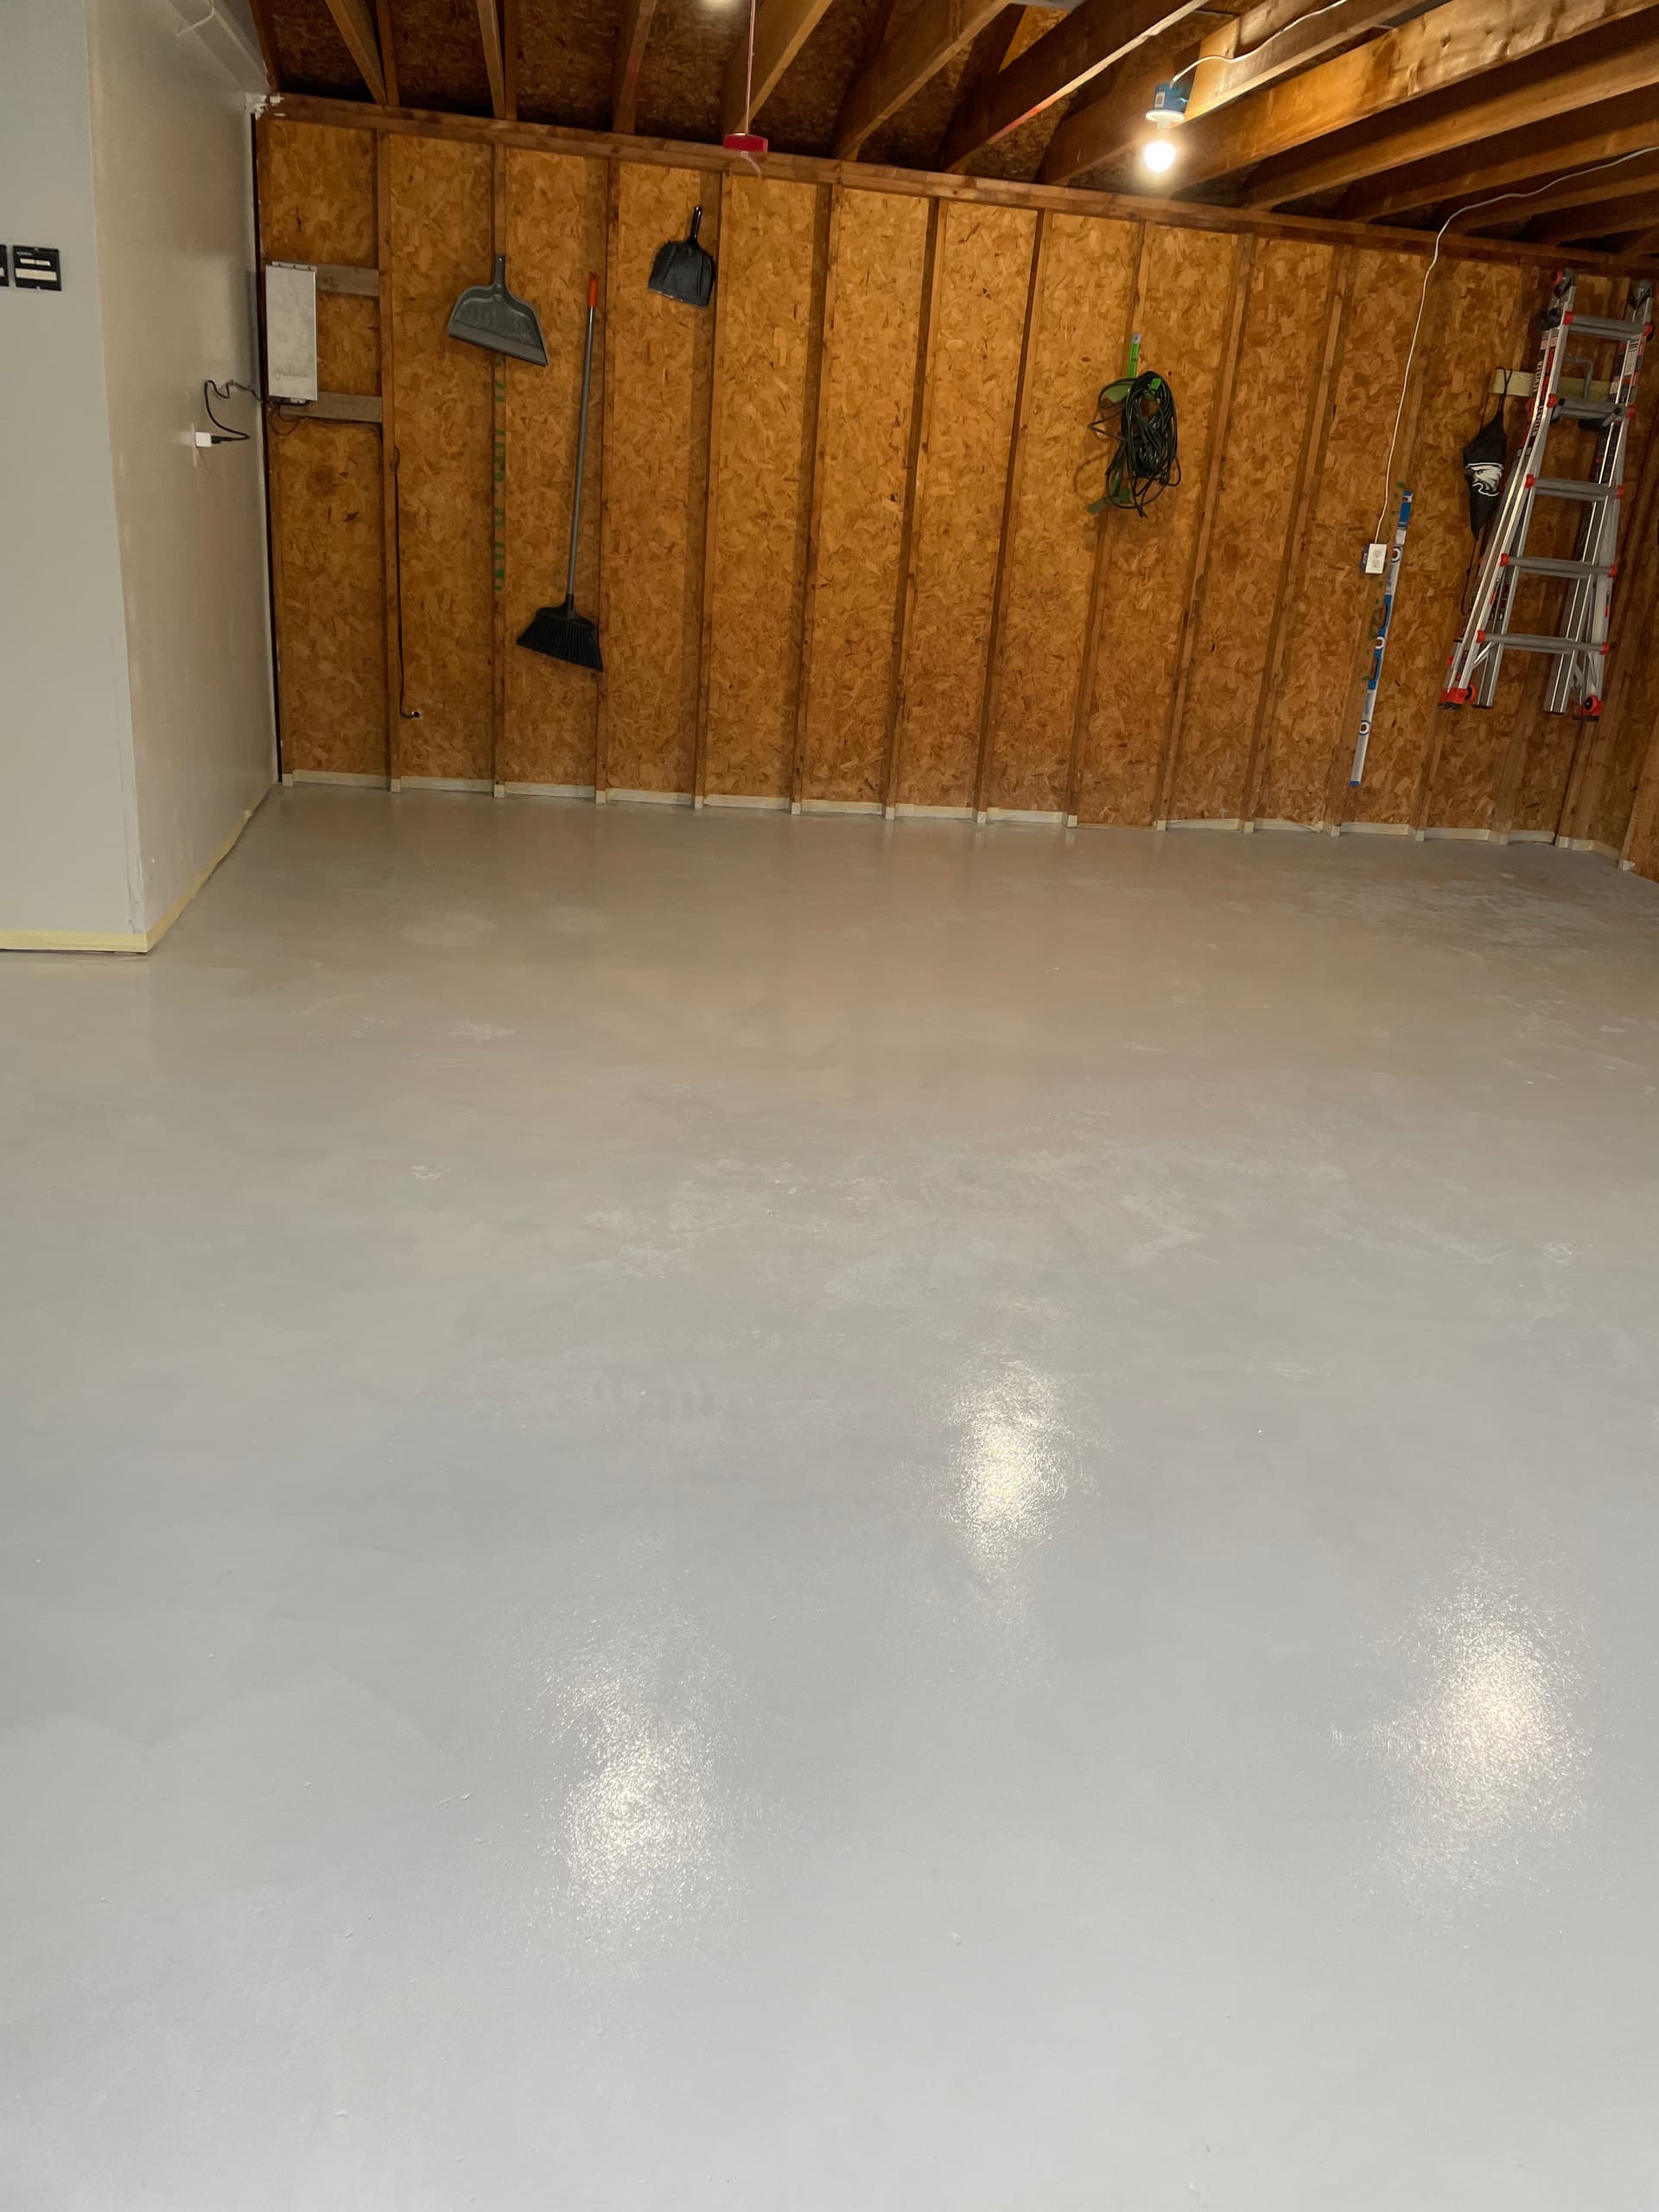
After:
3 Likes
This evening, I decided to apply the primer. I made sure to sweep, blow, and vacuum the floor a couple times between yesterday and today…dust is a pain to get rid of and always finds its way back on the floor. I used masking tape (which was recommended over painters tape) to tape off the walls and any exposed 2x4s. Note: be sure to set the tape a few cm off the floor or it can get stuck in the coats impossible to remove.
I have a 2 car garage and it took a little less than an hour with my fiance cutting in and me pouring the primer and rolling it out. Much easier than expected. I have to do the next epoxy coat within 72 hours.
6 Likes
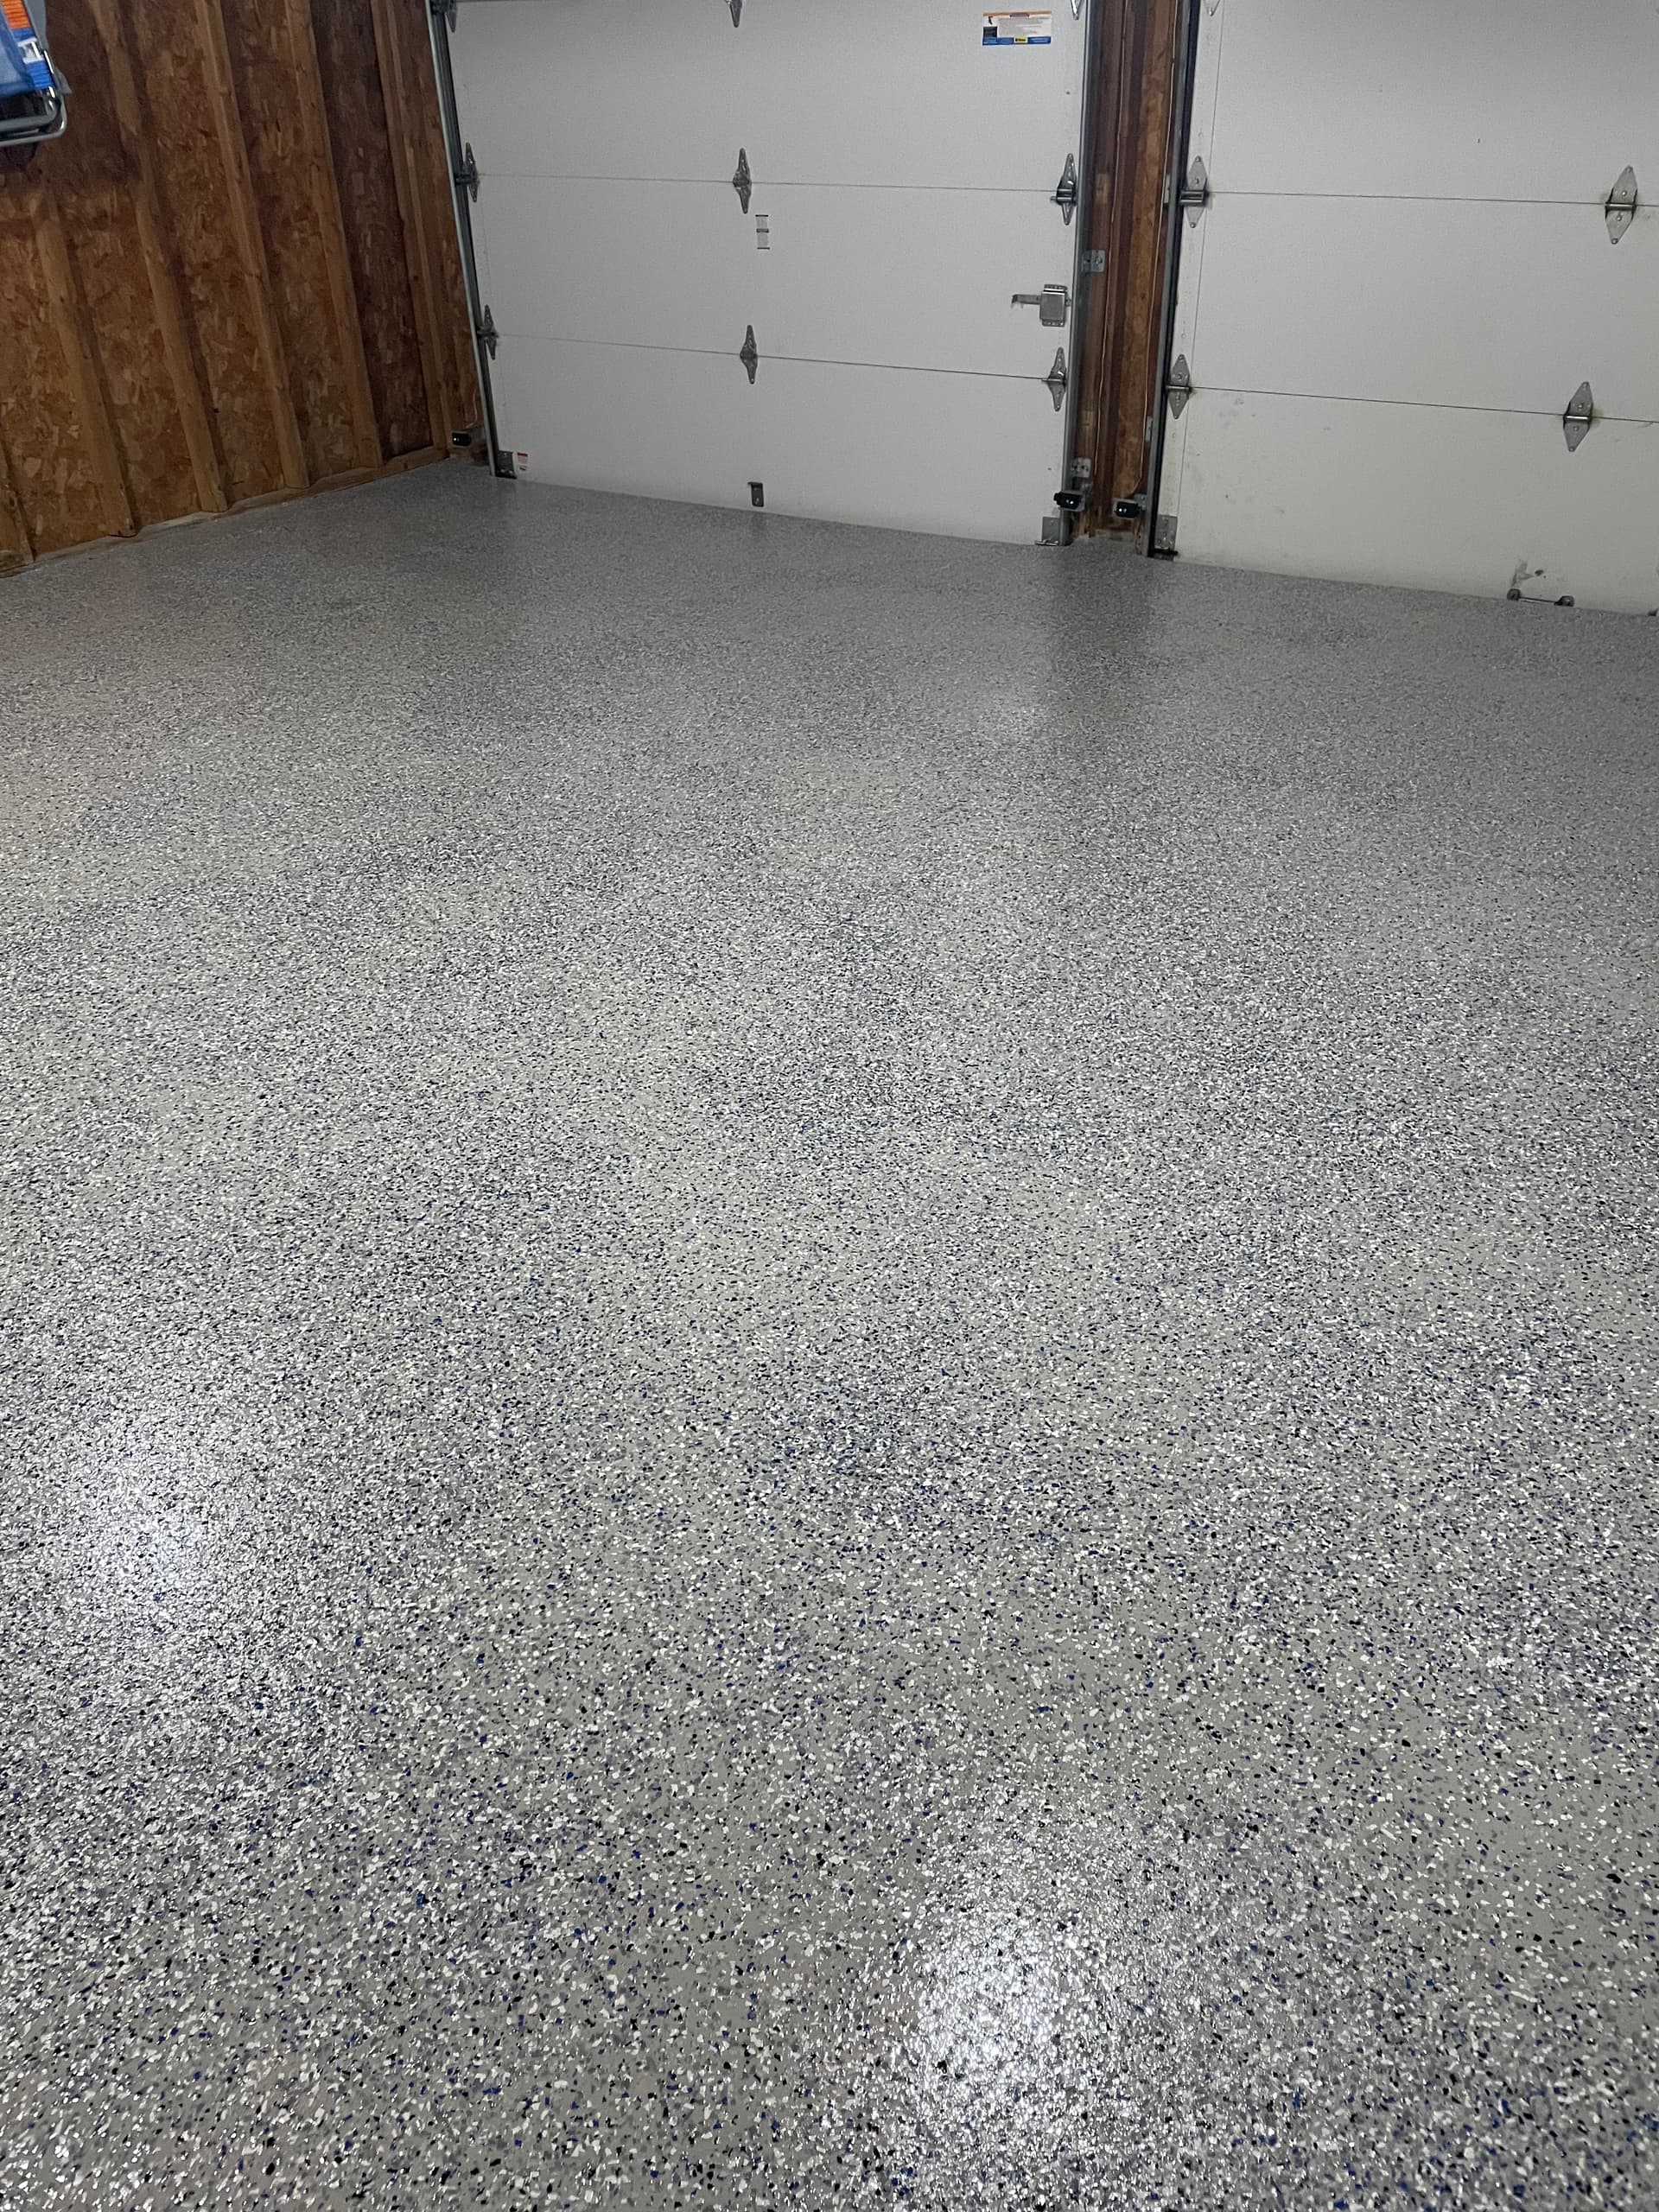
A day of so after the primer, I applied the epoxy/flakes and after a day of letting that dry, applied the 2 part top coat. I clear top coat was difficult to see where I already rolled, so I went over each area multiple times in different directions. I’m happy with how it came out, but it took a bit to get used to throwing the flakes so they didn’t clump when they landed. Definitely practice on a dry floor to see how they land. Spiked shoes are a must, I found a decent pair on Amazon for $20.
Overall, I’m very happy with the final result and the customer service from armorpoxy was excellent, answering a ton of questions and even answering emails on Saturday and Sunday.
I received quotes from companies for $8-9 per sq ft, my final cost was just under $3 sq ft. Well worth it if you have the time. Prepare, prepare, prepare…have a plan for every step. Do not cut corners, floor prep was the most important step. I had a helper every step of the way which was huge.
10 Likes
Great job!
1 Like